
Damp proof plastering
across Kent.
The half of the job people skip, and the reason damp comes back. Contaminated plaster off, salt-inhibiting render on, so the stain doesn't bleed through your new paint six months later.
The salts are the problem, not the water.
Groundwater carries dissolved salts up through the masonry. The water eventually evaporates out of the wall surface; the salts don't. They stay behind in the plaster, and they are hygroscopic — they actively pull moisture out of the air around them.
That's why a wall can be visibly damp long after the water has stopped rising, and why a new damp course on its own is only half a fix. Skim over contaminated plaster with ordinary finish and the salts migrate through, staining the paint and blowing the surface within months.
A salt-inhibiting render is designed to hold those salts back and let the wall dry outward. It is the difference between a job that lasts thirty years and one that looks fine until next spring.
When plastering is needed
- Blown, hollow or crumbling plaster low on the wall
- White crystalline deposits on the surface or behind wallpaper
- Staining that keeps coming back through fresh paint
- A damp course has been injected but nothing replastered
- Paint or wallpaper lifting along the bottom of the wall
- A previous damp job that has failed
If someone injected a damp course and left the plaster alone, that's usually why it came back.
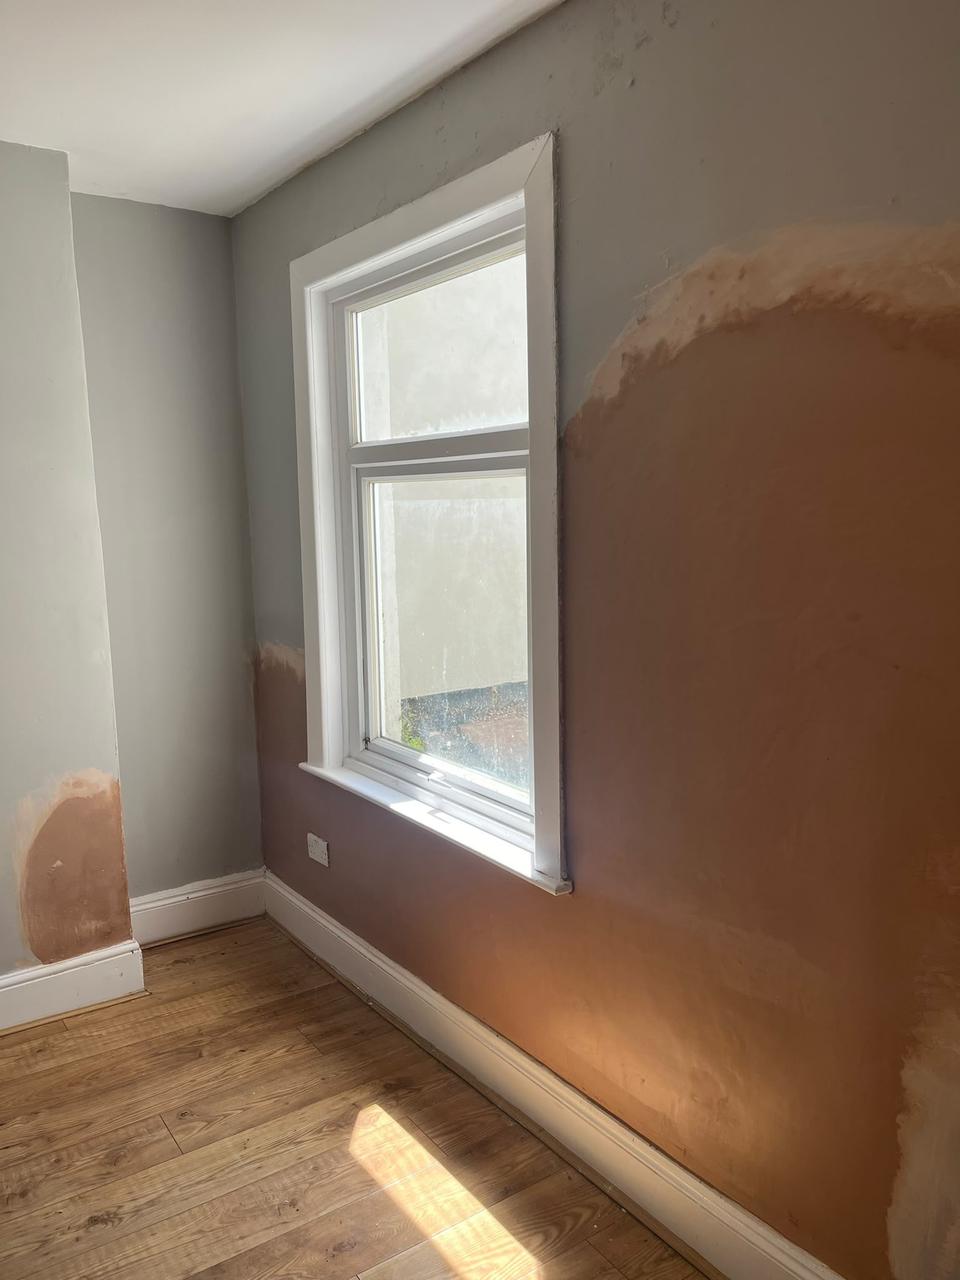
Hacked off, rendered, skimmed
Contaminated plaster removed to the required height, salt-inhibiting render applied and skimmed ready to decorate. Drag across to see the difference.
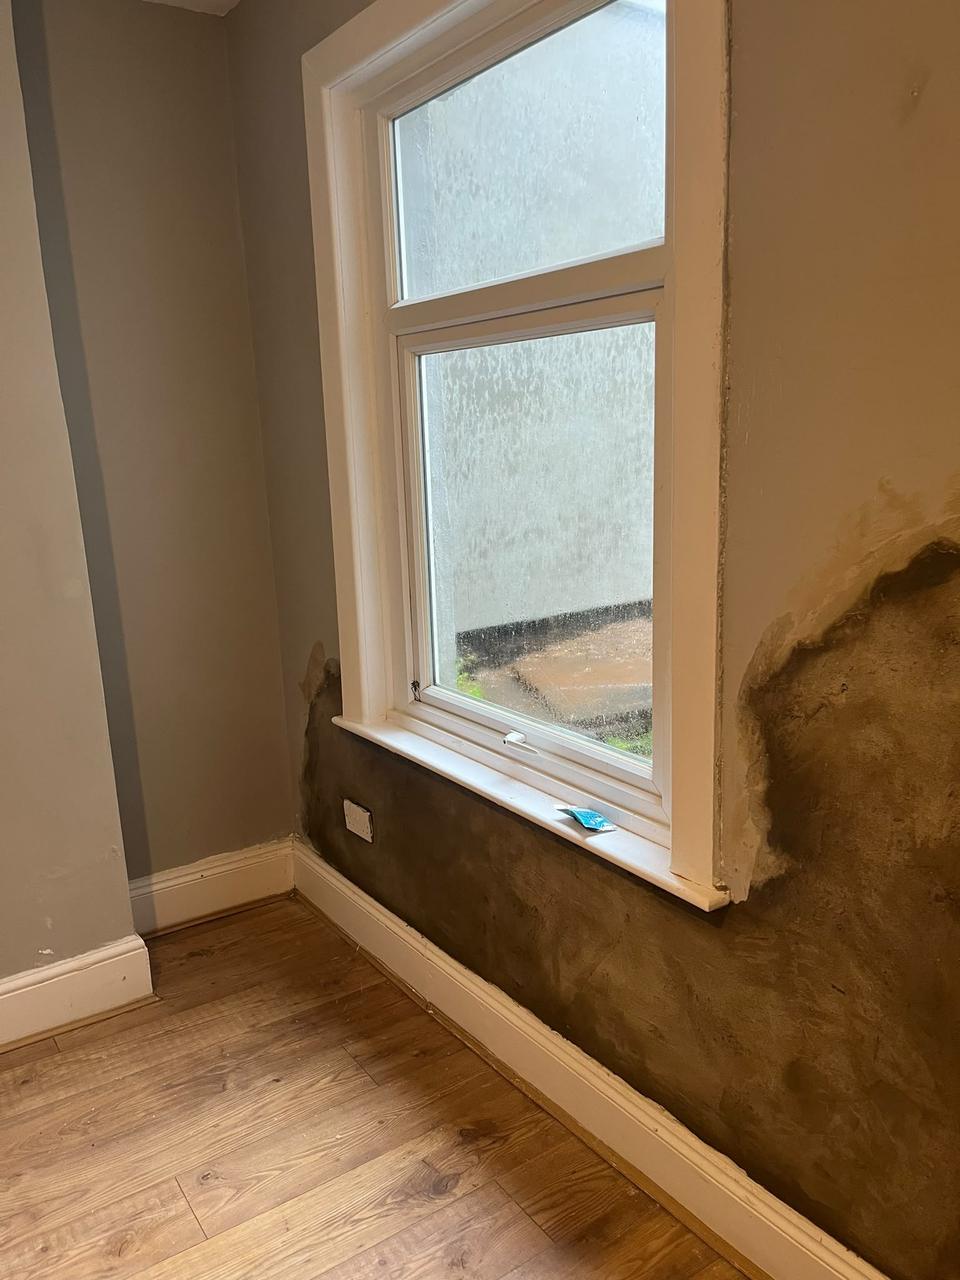
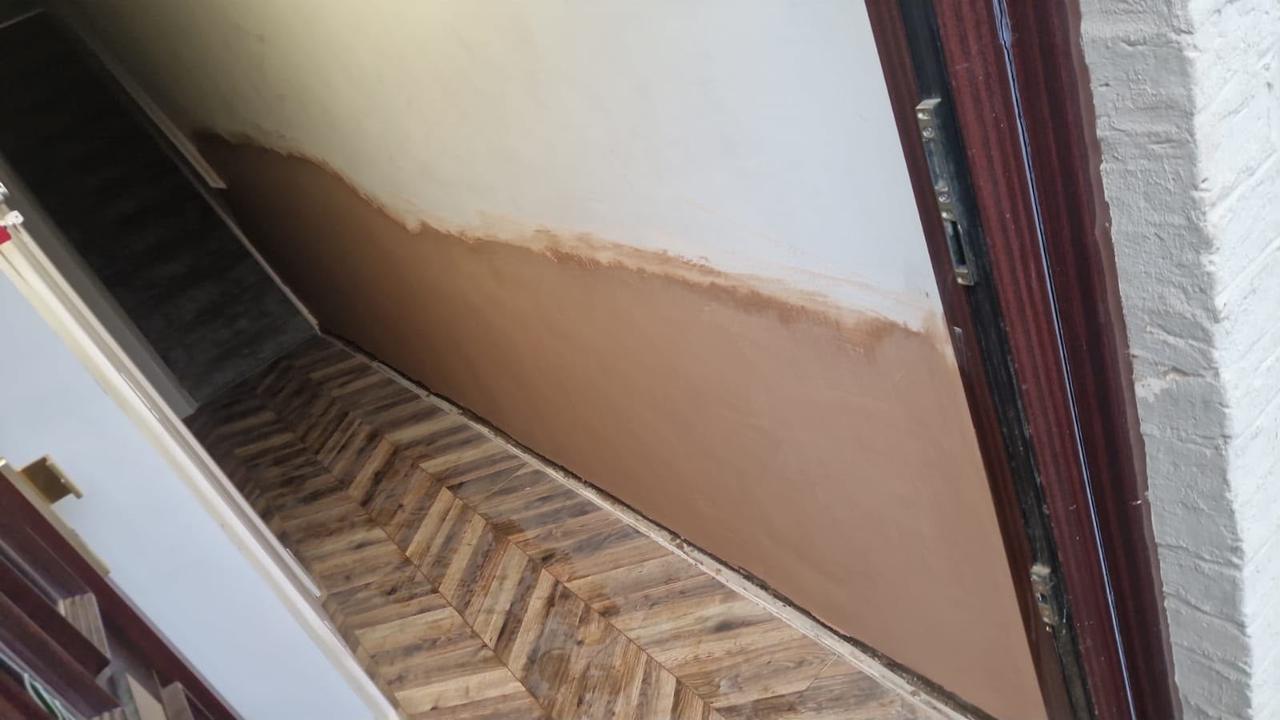 BeforeAfter
Take it back far enough, then leave it alone.
Two things ruin replastering jobs: not going high enough, and decorating too soon. Both are avoidable and both are on us to get right.
We go above the contamination line, and we tell you honestly how long to wait.
- 01
Strip back
Contaminated plaster removed, typically to at least a metre above the highest staining so nothing salty is left behind.
- 02
Treat and prepare
The exposed masonry is cleaned down and prepared, and any injection work is completed at this stage.
- 03
Salt-inhibiting render
Applied in coats to the required thickness, holding back residual salts while letting the wall dry outward.
- 04
Skim and finish
Finish coat applied ready for decoration, edges made good to existing plasterwork.
- 05
Drying time
We tell you how long to leave it and what to paint it with first. Rushing this is what wrecks the finish.
Had a damp course but the stain came back?
That's almost always the plaster. Send us a photo and we'll tell you whether it needs redoing.